How to Stretch Timberland Boots? Step-by-Step Guide
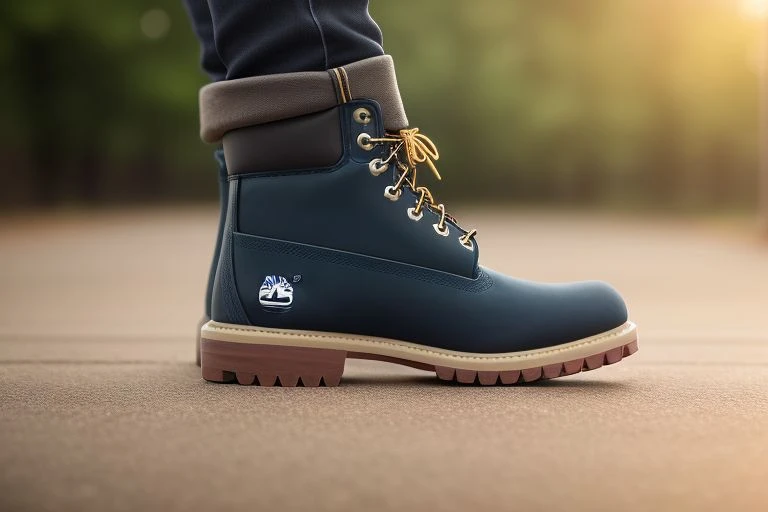
How to Stretch Timberland Boots? – Are you the proud owner of a pair of Timberland boots that are just a tad too tight?
Or perhaps you’ve recently bought a new pair and they’re not fitting as comfortably as you’d hoped.
Don’t despair – there are ways to stretch those boots for a perfect fit. This step-by-step guide will walk you through everything you need to know about stretching Timberland boots.
Table of Contents
How to Stretch Timberland Boots?
1. Identify tight areas: Put on your boots and note where they pinch or feel uncomfortable.
2. Choose your tools: Depending on the tight areas, choose between a boot stretcher, a boot stretching spray, or DIY methods like the freezing and heat stretching.
3. Use a boot stretcher: If you choose this, insert the stretcher into your boot and slowly turn the handle to stretch. Leave in for 24-48 hours.
4. Use a boot stretching spray: Apply the spray on the tight areas and use your hands to gently stretch the boots.
5. Use the freezing method: Fill a bag with water, insert it into the tight areas of your boot, and leave the boot in the freezer overnight. Remove and allow the ice to thaw before removing the bag.
6. Use the heat method: Put on a pair of thick socks, insert your foot into the boot, and use a blow dryer to heat the tight spots. Let the boots cool while wearing them.
7. Condition and care: After stretching, condition the boots with a leather conditioner to preserve the stretched shape and enhance durability.
Understanding the Importance of a Good Fit
A snug, yet comfortable fit in your Timberland boots is crucial for various reasons. When your boots fit well, you experience enhanced comfort, enabling you to wear them for extended periods without discomfort.
A proper fit also acts as a preventive measure against common foot ailments like corns and blisters, which often occur due to friction between the foot and ill-fitting footwear. Beyond just comfort and health, the lifespan of your boots can be significantly increased when they fit well.
Too tight or loose boots tend to wear out faster as they endure unnecessary strain or friction. Conversely, boots that fit well distribute pressure and wear evenly, extending their durability.
Therefore, before stretching your boots, you must appreciate the necessity of achieving a perfect fit. After all, well-fitted boots are a worthwhile investment, ensuring you enjoy optimum comfort, health, and longevity from your Timberland boots.
Identifying the Areas That Need Stretching
Before you jump into the process of stretching your Timberland boots, it’s necessary to pinpoint the exact locations causing discomfort. Begin by wearing your boots for a short period and observe where they feel overly tight or uncomfortable.
This practice will allow you to identify the specific spots that require stretching. Areas that commonly require attention include the toe box, the boot’s width, and the instep. Pay particular attention to any pinching or squeezing sensation in these regions.
By accurately identifying these tight areas, you ensure an effective and targeted stretching process that provides the comfort you seek in your boots.
Remember, the goal isn’t to stretch the entire boot, but to alleviate the specific points of discomfort, ensuring a perfect and personalized fit.
Choosing the Right Tools for Stretching
When it comes to stretching your Timberland boots, the right tools can make all the difference. The most widely used tool is a shoe stretcher, a device explicitly designed to enlarge both the length and width of a boot.
Another option is a boot stretching spray, which softens the leather, facilitating easier stretching. For those opting for a DIY approach, household items will serve as your tools. The freezing method requires a zip-lock bag and water, while the heat stretching method will need a blow dryer and a pair of thick socks.
Keep in mind that each tool and method corresponds to different areas of discomfort, so choose wisely based on your specific needs.
A shoe stretcher is more suitable for general width or length stretching, whereas the DIY methods can target specific tight spots. Whatever your chosen method, the proper tools will ensure a successful stretching process and help you achieve that perfect fit for your boots.
Learning How to Use a Boot Stretcher
Employing a boot stretcher to widen your Timberland boots is a straightforward process. Start by inserting the boot stretcher into your footwear. It should fit perfectly within the boot without any forceful pushing or pulling.
Once it’s placed correctly, find the handle and begin to turn it. This action will start the stretching mechanism, pushing against the sides of your boots to create more room. Let the stretcher sit inside the boot for an extended period, preferably overnight.
However, for a more significant stretching effect, consider leaving it in for 24-48 hours. Monitor the process, and once you’ve achieved the desired amount of stretch, remove the stretcher from your boot.
If the boots still feel tight, you can repeat the procedure until you reach the level of comfort you desire. Using a boot stretcher can be an effective way to customize the fit of your boots, ensuring optimal comfort and reducing potential foot issues associated with tight footwear.
Utilizing the Freezing Method to Stretch Your Boots
The freezing method is an economical yet effective technique to enlarge your boots. Start this process by filling a sturdy zip-lock bag with water until it’s about halfway full. Ensure the bag is properly sealed to prevent leaks, and then carefully place it into your boot.
The goal is for the water-filled bag to occupy the spaces within your boot that are uncomfortably tight. After placing the bag inside your boot, the next step is to put the boot in your freezer.
As the water inside the bag freezes, it expands, exerting pressure on your boots’ surrounding areas and resulting in a subtle stretch.
The boot should remain in the freezer overnight for maximum results. After the designated time, remove your boots from the freezer and let the ice in the bag melt completely before you extract it.
Be sure to avoid the temptation of speeding up the melting process with heat as it can cause damage to the boot material. This simple method is a safe and surefire way to get your Timberland boots fitting just right.
Making Use of the Heat Stretching Method
The heat stretching method involves wearing a pair of thick socks, then warming up your boots to stretch the leather. This method is most effective on boots that feel too snug in specific areas. To begin, put on a pair of thick socks and slip your foot into the boot.
Once your foot is inside, use a blow dryer to heat the areas of the boot that feel uncomfortably tight. The heat from the blow dryer will make the leather more flexible, allowing it to stretch and mold around your foot.
It’s important to keep the blow dryer at a safe distance of at least 6 inches from the boot to prevent potential damage to the material. Continue to wear the boots while they cool down. This ensures that the boot molds to the shape of your foot, providing a custom fit.
This method is an easy and effective way to stretch your boots in targeted areas for increased comfort. Remember, overdoing this method could damage the leather, so use the heat sparingly and carefully. Also, always allow your boots to cool naturally and avoid direct heat sources.
Conditioning and Care Post-Stretching
Once you have successfully stretched your Timberland boots for a better fit, don’t forget the crucial next step – conditioning. This involves treating your boots with a quality leather conditioner. Doing so will not only help to preserve the newfound shape of your boots but also enhance their longevity.
The leather conditioner works by infusing moisture into the leather material, which in turn makes it softer and more pliable. This process is especially important after stretching as it helps to maintain the leather’s elasticity, ensuring that the boots retain their stretched out shape for a longer time.
It’s also worth mentioning that the leather conditioner can help to prevent cracks and crevices, further preserving the overall look and health of your boots. Regular conditioning post-stretching is an excellent habit to adopt, aiding in the upkeep of your boots and contributing to their durability.
Be sure to follow the instructions provided on the conditioner’s packaging to get the best results. Always remember that your Timberland boots are an investment, and proper care is key to enjoying them for many years to come.
Knowing When to Consult a Professional
Despite your best efforts, there might be times when you can’t achieve the desired fit from your Timberland boots through the DIY methods mentioned above. In such cases, turning to a professional can be your best bet.
Shoe repair shops or cobblers offer services specifically designed to stretch boots, and they have the expertise and tools to adjust your boots for an optimal fit. They can also provide invaluable advice on how to preserve the stretched shape and overall condition of your boots moving forward.
Remember, your comfort is paramount, and if these home methods aren’t providing the relief you need, it’s worth seeking out professional help.
Trying to force a stretch beyond the boots’ capacity can potentially cause damage and ultimately shorten their lifespan, so don’t hesitate to consult a professional if you’re experiencing persistent discomfort.
After all, maintaining the quality and comfort of your Timberland boots is integral to enjoying their lasting durability and style.

